
Applying a hair patch at home can feel intimidating the first time, but it is a skill anyone can master with the right method. A clean scalp, well-prepped tape and a calm 30 minutes are all it takes to get a fit that looks natural, feels secure and lasts the full 1–2 weeks between re-applications. This guide breaks the process into 10 steps, from setting up your tools to the final security check, so you can apply your system with confidence — every single time.
Step 1: Gather Your Tools and Set Up a Workspace

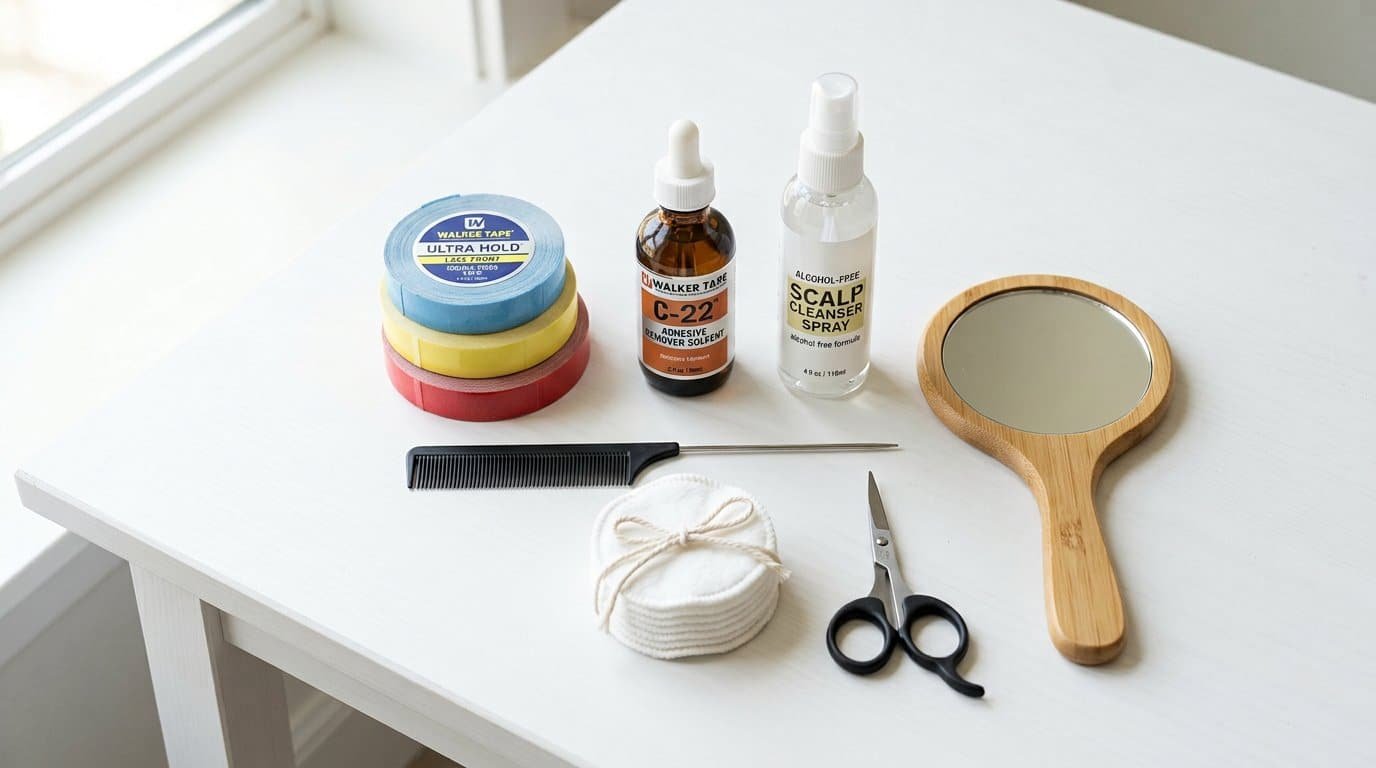
” alt=”Flat lay of a complete hair patch application kit with tape rolls, adhesive remover, scalp cleanser, scissors and comb” />
Nothing breaks focus like hunting for a missing roll of tape halfway through an application. Before you start, lay out everything on a clean, well-lit table in front of a mirror: double-sided tape strips, adhesive remover or solvent, an alcohol-free scalp cleanser, cotton pads, a fine comb, small scissors and a hand mirror for the back of your head. A wig or styling stand is a big help if you keep your patch on one between washes. Once the kit is assembled, the whole application becomes a 20–30 minute routine instead of a stressful scramble.
Step 2: Cleanse and Fully Dry Your Scalp
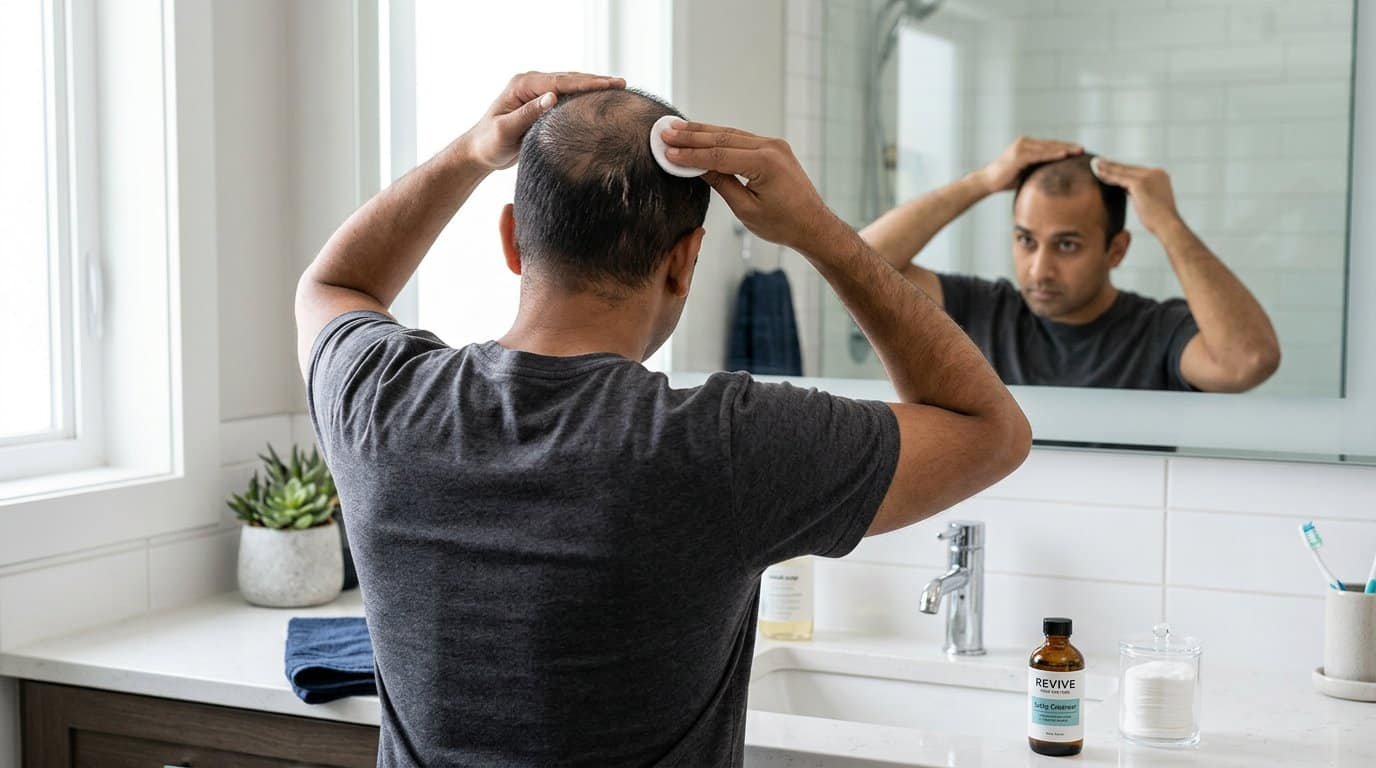
” alt=”Man cleansing his scalp with a cotton pad before hair patch application” />
Your tape will only hold as well as the skin underneath it. Wipe the application area with an alcohol-free scalp cleanser — alcohol dries and irritates the skin, which can lead to itching and weaker adhesion. Work in small circles to lift oil and sweat, then let the scalp dry completely. Even a thin film of moisture breaks the bond, so wait a minute or two after cleansing. If your own hair around the patch area is long, comb it flat or clip it out of the way so no strands get trapped under the tape.
Step 3: Trial-Fit Before You Bond
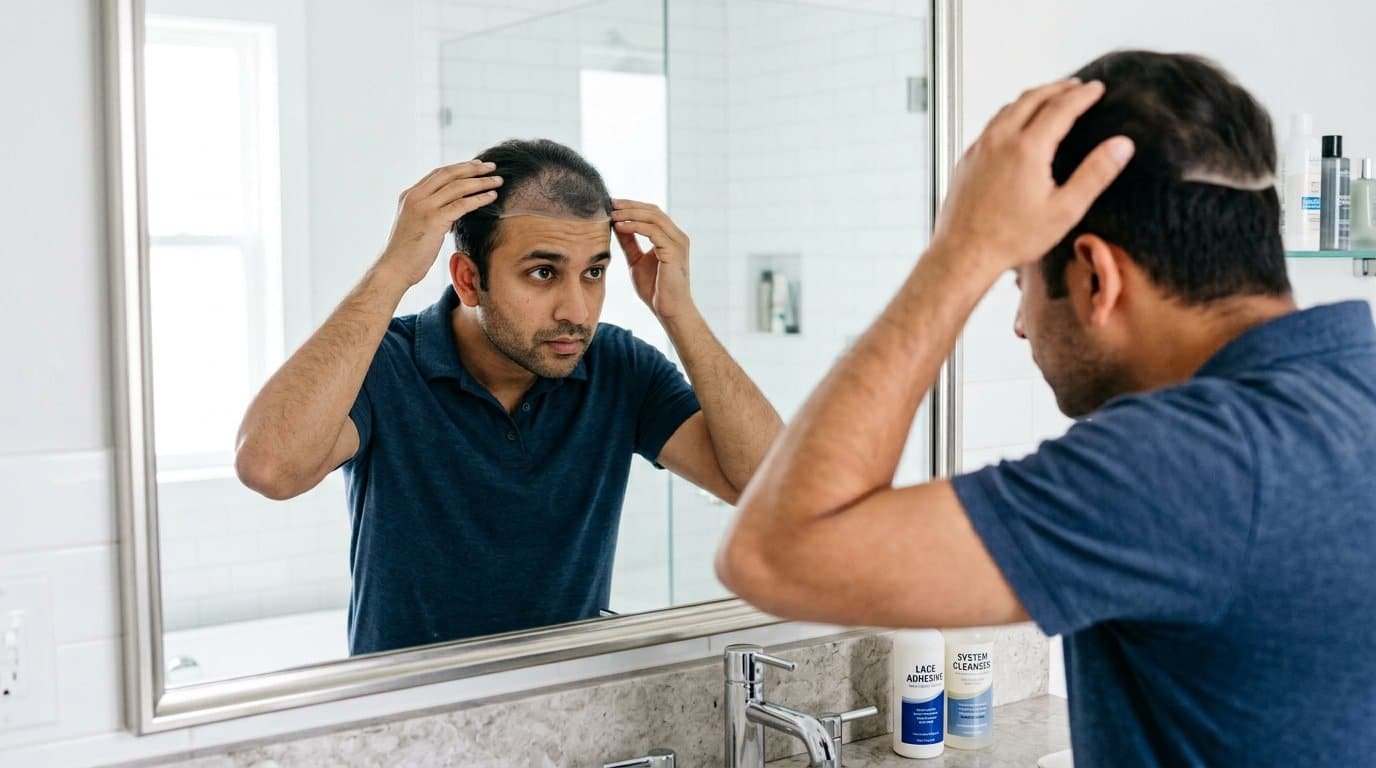
” alt=”Man checking the position of a hair patch in a mirror before applying adhesive” />
Place the patch on your head without any tape first. Line up the front edge with your natural hairline and check the fit from the front and both sides using a hand mirror. The base should sit flat with no gaps, and the direction of the hair should match your own growth pattern. When the position looks right, make a note of where the front corners sit — some users mark the spots lightly with a washable eyebrow pencil. This trial run takes two minutes and prevents the most common mistake: bonding the patch slightly off-centre, which is very hard to fix once the tape is on.
Step 4: Clean the Base and Refresh Old Tape
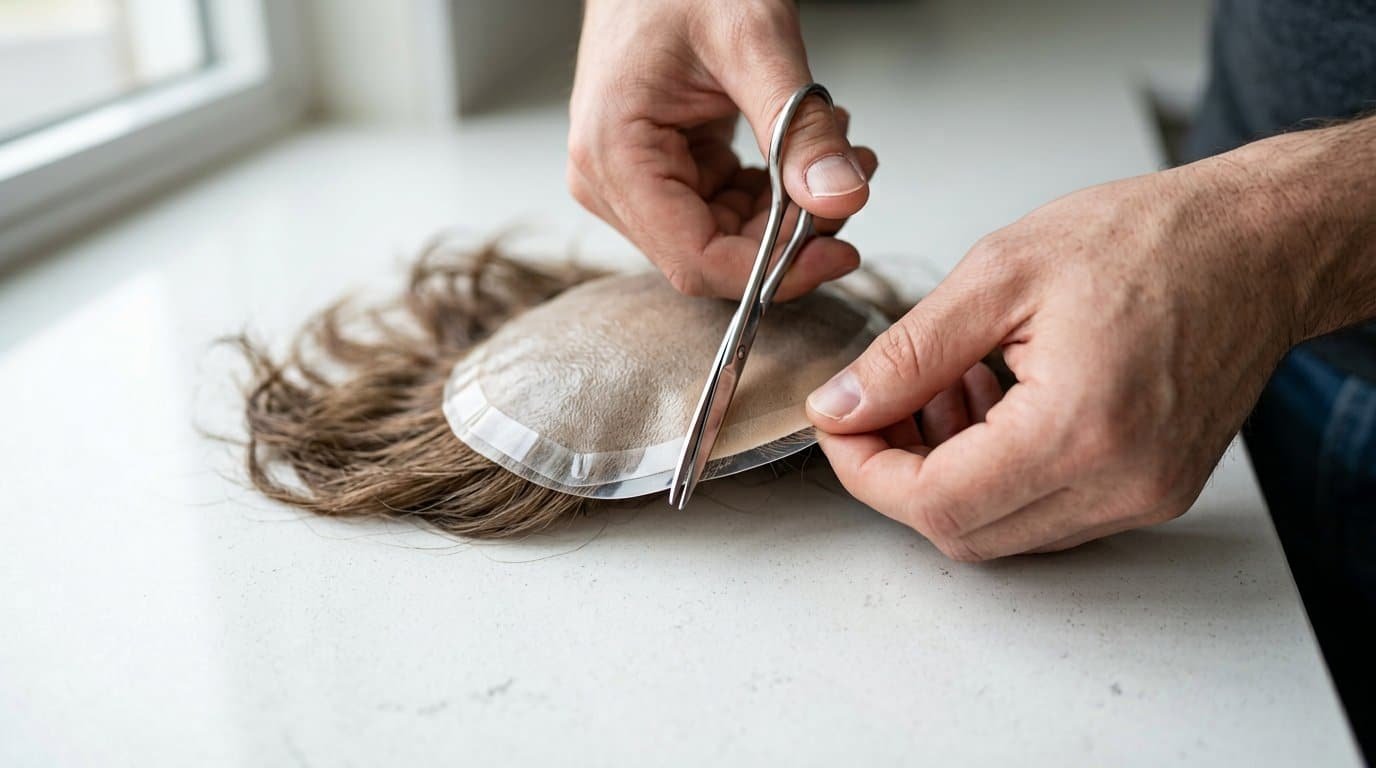
” alt=”Trimming a tape strip along the edge of a hair patch base with small scissors” />
If you are re-applying a patch that has been worn before, remove every trace of old adhesive first. Spray or dab a little adhesive remover on the base, wait 30–60 seconds for the glue to soften, then wipe gently with a cotton pad. Never scrape with metal tools — the lace or skin base is thin and tears easily. Once the base is clean and dry, you are ready for fresh tape. A clean base is the difference between a patch that sits invisible and one that lifts at the edges after three days. Different materials release adhesive at different speeds, so it helps to know which hair patch base type you are working with before you start.
Step 5: Apply Tape in a Horseshoe Pattern
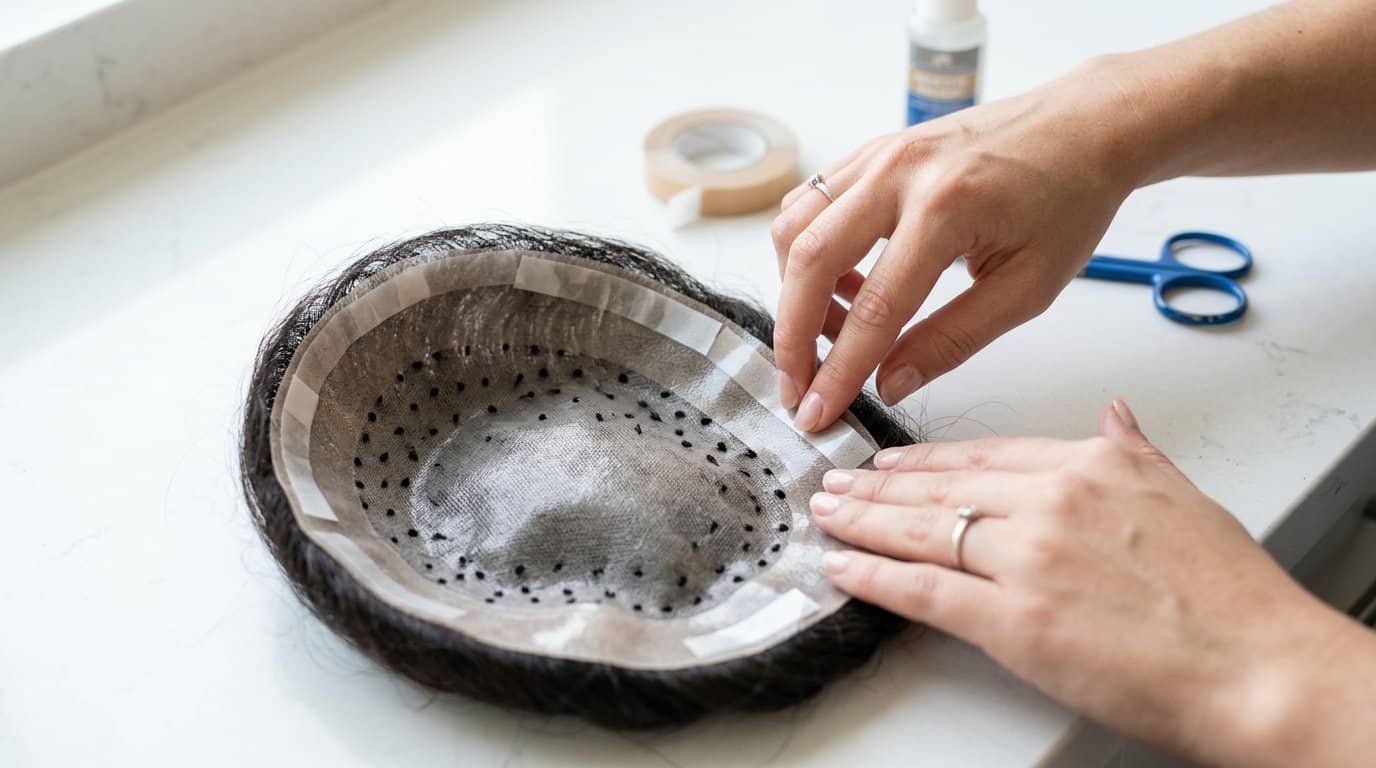
” alt=”Applying double-sided tape strips around the perimeter of a hair patch base” />
For a partial patch, tape around the perimeter is the standard, most comfortable choice. Lay strips in a horseshoe pattern — front, sides and back — leaving the centre free so the scalp can breathe. Press each strip down firmly, then trim the tape flush with the edge of the base using small scissors; tape that overhangs the base is what shows at the hairline and picks up lint. Using glue instead? Apply a thin, even layer to the base only, never to the scalp, and let it dry until it turns tacky — that tacky stage is the window for the best bond.
Step 6: Peel, Position and Press
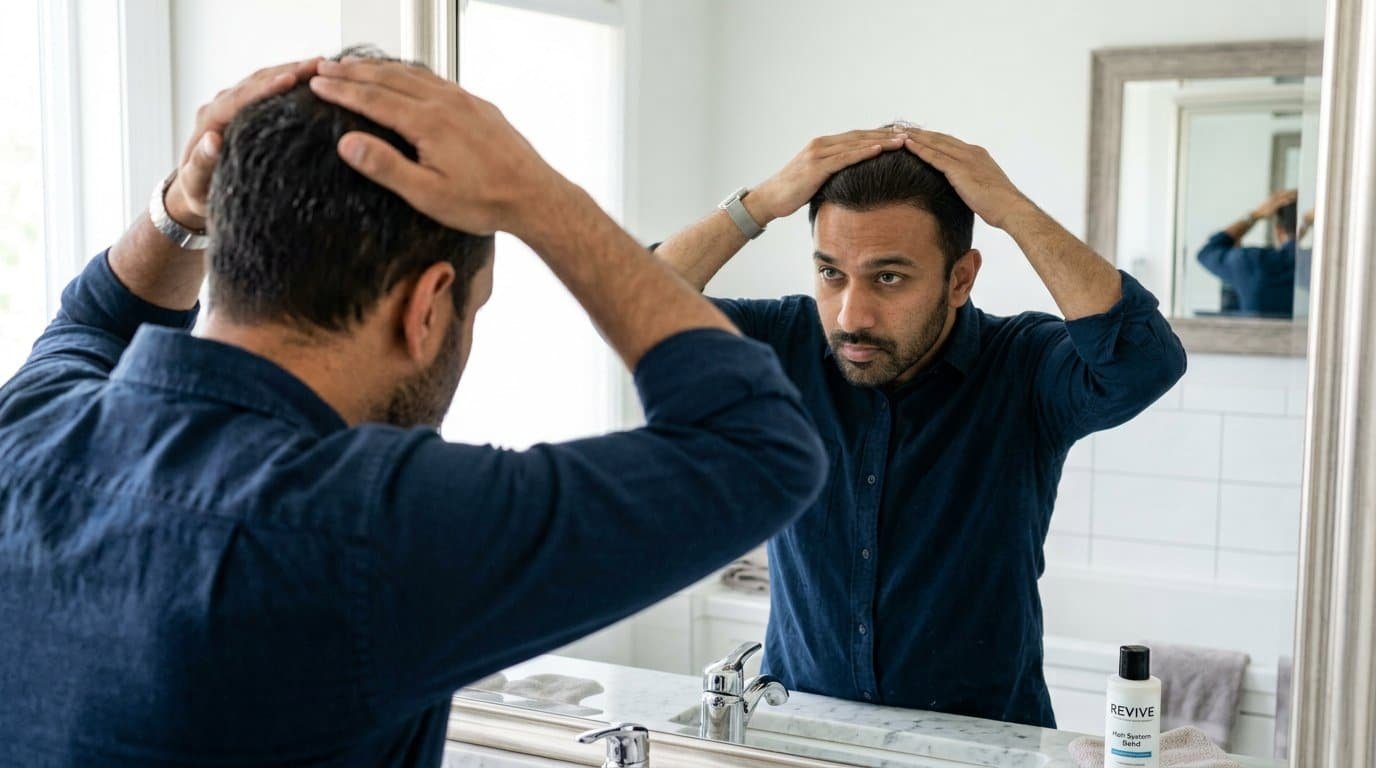
” alt=”Pressing a hair patch firmly onto the scalp with both hands during application” />
Peel the protective liners off the tape — all of them, before you position, so you are not juggling halfway through. Bring the patch to your head and settle the front hairline first, using the trial-fit marks as your guide. Then press the sides and back down. Hold firm, even pressure for 30–60 seconds, working from the front toward the back so no air gets trapped under the base. A clean, dry press now is what gives you a full week or two of worry-free wear — rushing this step is the reason patches lift early.
Step 7: Blend the Edges with Your Own Hair
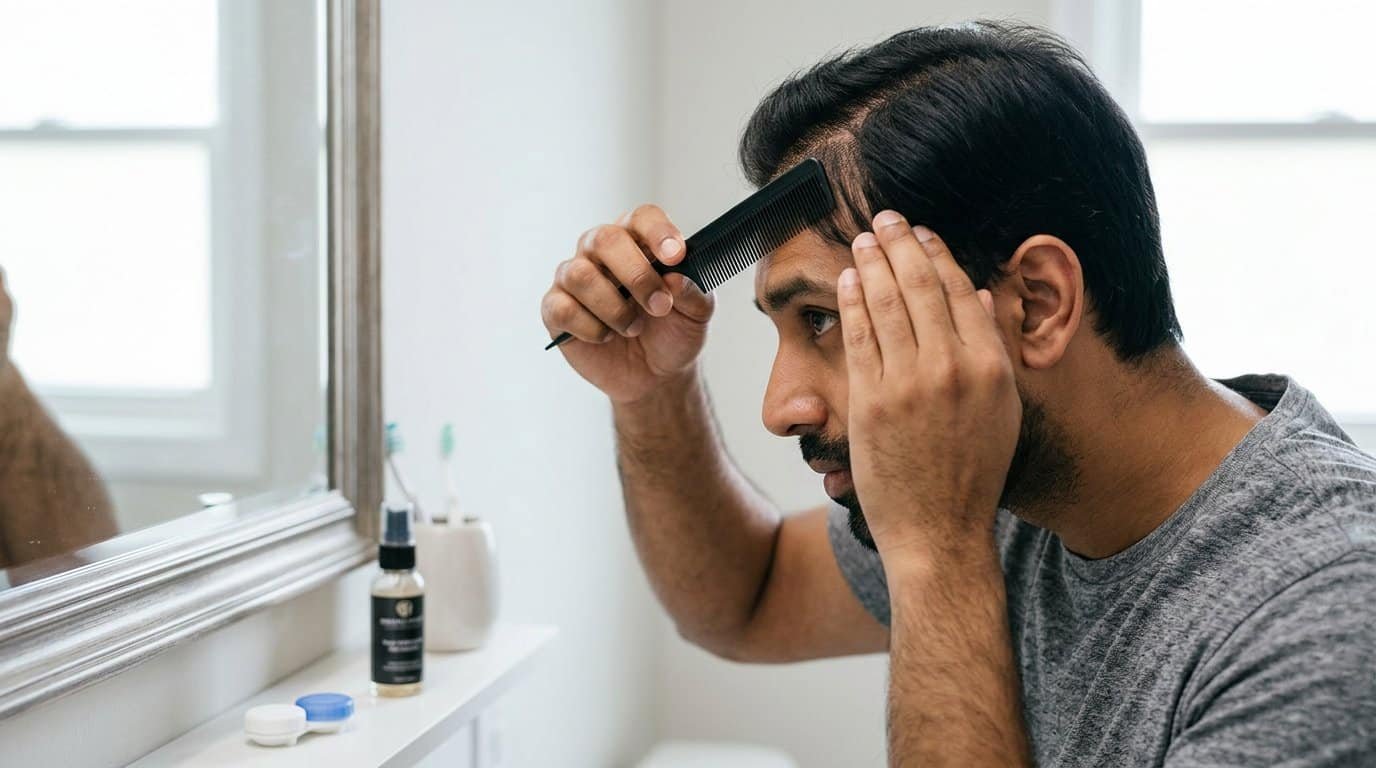
” alt=”Combing natural hair over the edge of a hair patch to blend the hairline” />
A patch only looks like “you” when the transition is invisible. Take a fine comb and gently blend the hair around the patch over its edges, following the direction of your natural growth. If your patch came longer than your own hair, this is the moment to trim it to match — cut in small sections, point the scissors upward and check often in the mirror rather than cutting wet or pulling the hair straight. When in doubt, book a barber or stylist for the first cut-in; after that you can maintain the shape yourself.
Step 8: Style Normally — With Care
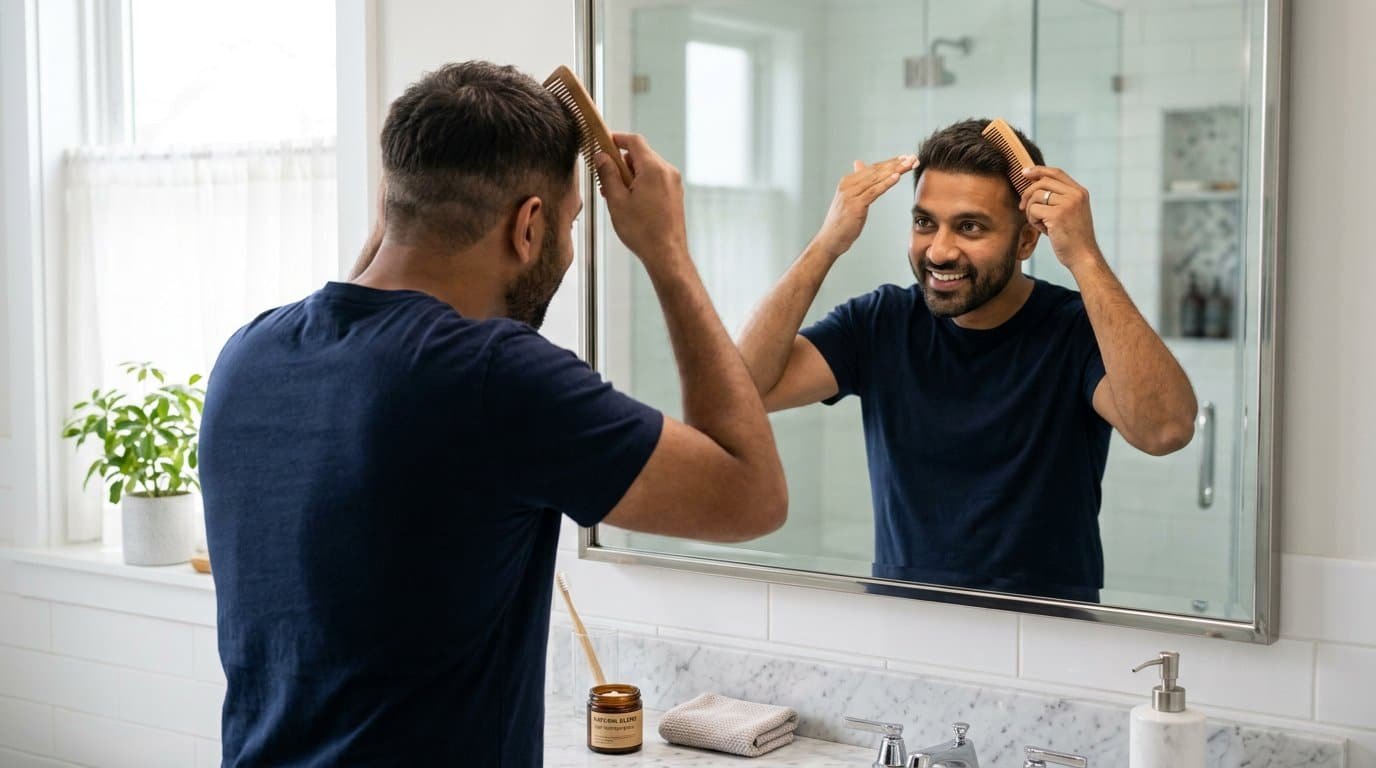
” alt=”Styling a freshly applied hair patch with a comb and light-hold product” />
Once the patch is bonded, style it the way you would your own hair. Work a small amount of product through the mid-lengths and ends rather than the roots, and keep heat tools low if you use them — human hair is forgiving, but the base and knots are not. Keep heavy wax or gel away from the taped edges: oils from styling products seep into the tape line and soften it over time. A light-hold product and a quick blow-dry on low heat are all a fresh application needs to look like a great hair day.
Step 9: Do the Security Check
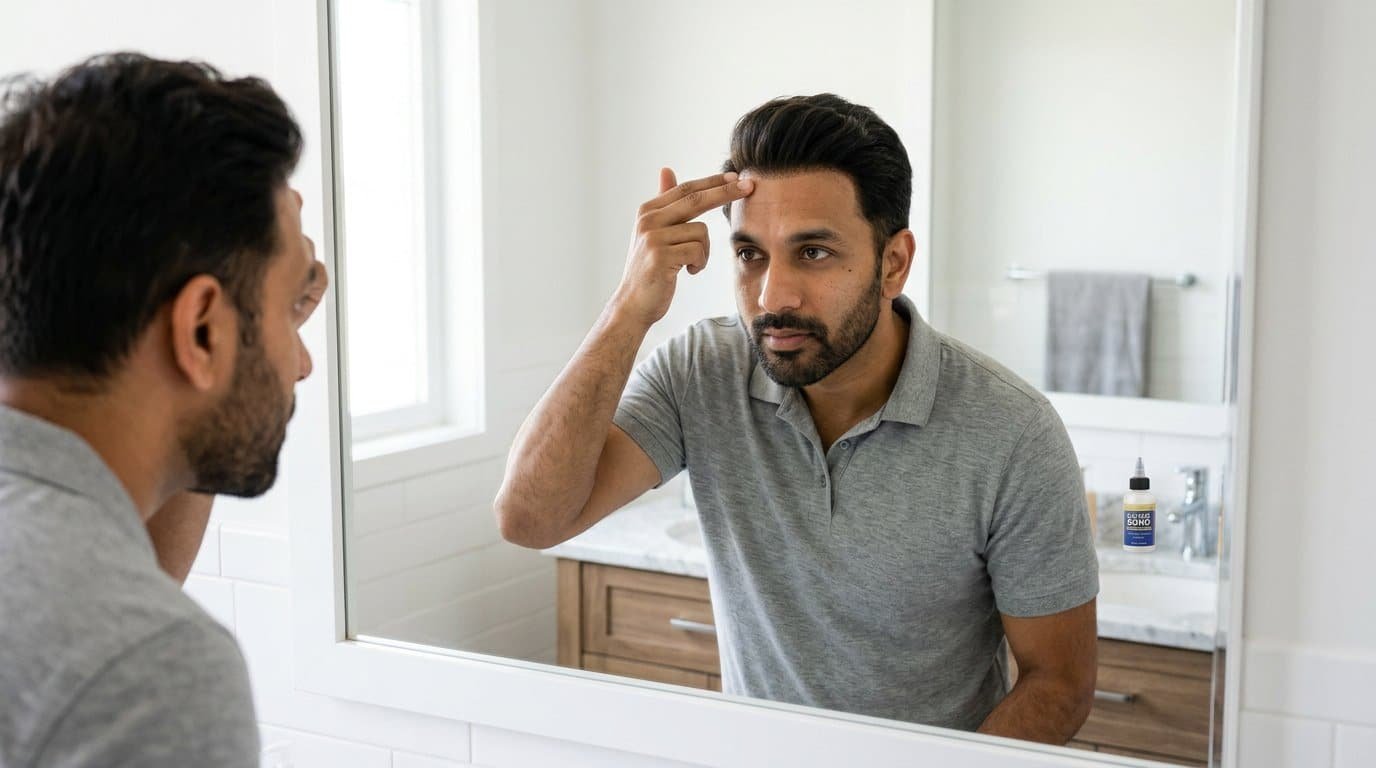
” alt=”Man checking the bonded edge of his hair patch with his fingertips at the mirror” />
Before you step out, run your fingertips along every edge of the patch. The hairline, the sides and the nape should all feel flat with no lifting or loose corners. Gently shake your head and bend forward — the patch should stay put without shifting. Check again after about an hour, because the tape continues to set as it warms to body temperature. Finding a weak spot in the first hour is a two-minute fix with a spare strip; discovering it in a public mirror is not.
Step 10: Plan Your Re-Application Schedule
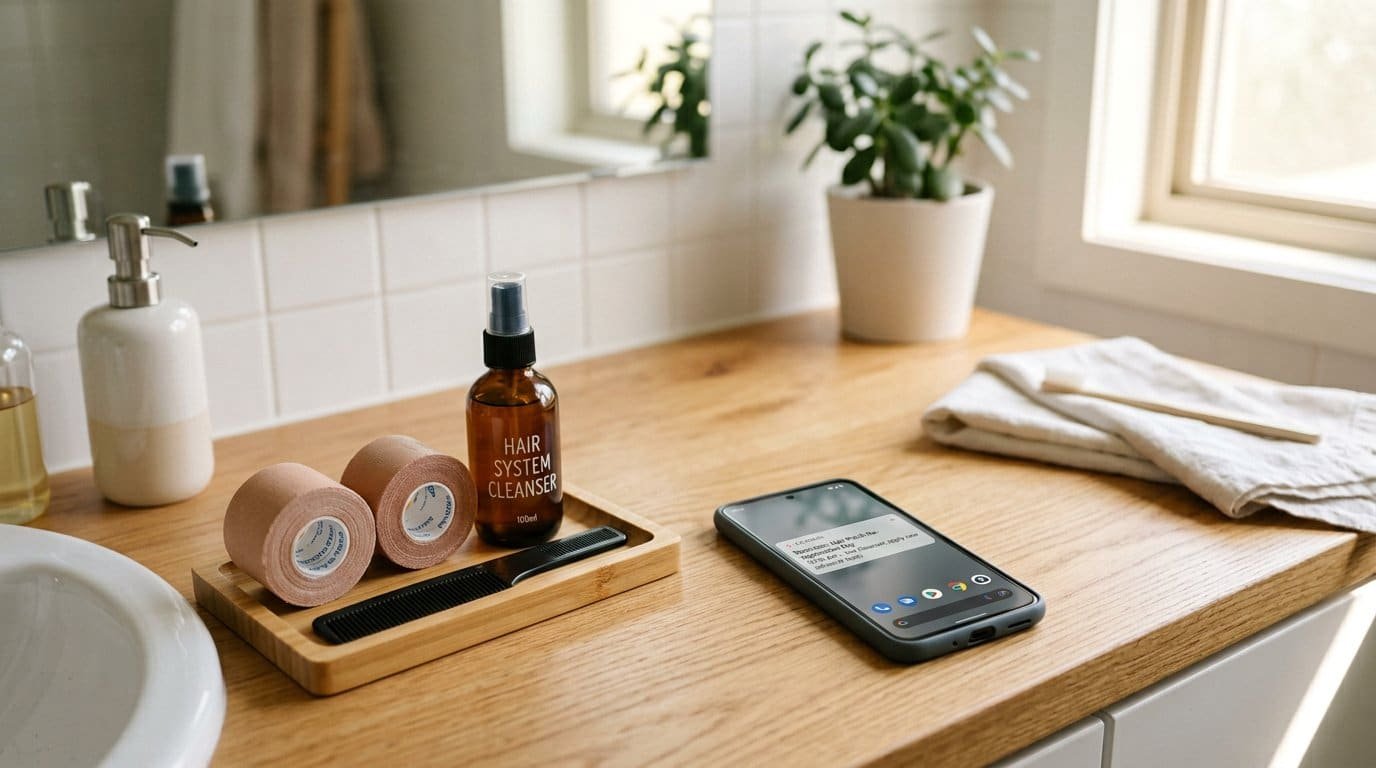
” alt=”Hair patch care kit beside a phone calendar reminder for re-application day” />
Tape bonds last 1–2 weeks, depending on your skin, the climate and how much you sweat. Re-apply on a fixed schedule rather than waiting for an edge to lift — a worn bond lets water, sweat and dirt under the base, which shortens the life of both the tape and the system. Mark re-application day on your phone calendar and keep a spare roll of tape in your kit for emergency edge repairs. Between applications, follow a proper wash and care routine so your patch is clean, dry and ready when the day comes.
Application FAQ
How long does it take to apply a hair patch?
Once you have done it a few times, a full re-application takes 20–30 minutes. Your first attempt may take closer to an hour, especially the trial-fit and cutting in — that is completely normal, and the routine gets faster every time.
How long will the patch stay on?
With tape, expect 1–2 weeks of secure wear. With liquid adhesive on a skin base, some wearers stretch to 3–4 weeks. Heat, humidity and heavy workouts shorten any bond, so plan your re-application schedule around your lifestyle rather than a fixed number.
Tape or glue — which should I use?
Tape is easier for beginners: cleaner to apply, simpler to remove and gentler on the base. Glue gives a stronger, flatter bond on skin bases and is popular for the hairline, but it takes more practice and more careful cleanup. Many experienced users combine both — glue at the front hairline and tape around the rest of the perimeter.
Can I apply a patch on a completely bald scalp?
A partial patch is designed to cover a specific thinning area and looks most natural blended with surrounding hair. If you have extensive baldness, a full hair system or wig covers a larger area. Not sure which applies to you? Message us on WhatsApp and we can help you choose the right system for your pattern of hair loss.
How do I remove the patch safely?
Never pull a bonded patch off — you will tear the base and irritate your scalp. Apply adhesive remover along the edges, wait for the glue to soften, and lift gently from back to front. Clean the base and your scalp afterwards, and give your scalp a night off whenever you can. Removal and base care are covered in detail in our hair patch care guide.
What if my skin reacts to the adhesive?
Some skins are sensitive to certain tapes and glues. If you notice redness, itching or a rash, remove the patch, let your scalp recover, and try a different adhesive — hypoallergenic tapes exist and most users find one that suits them. If irritation is severe or persistent, stop wearing the system and consult a dermatologist.
The Bottom Line
Applying a hair patch at home is a learnable routine, not a mystery. Prepare your tools, keep the scalp clean and dry, trial-fit before you bond, press firmly, and re-apply on a schedule — those five habits cover 90% of application problems before they happen. The more often you do it, the more natural both the process and the result become. Need a patch, tape, adhesive or a scalp cleanser? Browse the Wovana Hair shop, or message us on WhatsApp for application advice specific to your system.
Important: Wovana Hair articles provide general product and care information. Hair loss and scalp concerns can have different causes; consult a qualified healthcare professional when you need medical advice.